Configure your PBX Module to connect your Asterisk with CRM using the following steps, You can configure your Asterisk server details after installing Joforce Asterisk Connector in your Asterisk Server.
- Click User Profile → Settings → Integration → PBXManager Suite.
- Provide your Asterisk Server details using Edit option.
- Edit Asterisk Server Details.
- Joforce Asterisk App URL – Enter your server name, where Joforce Asterisk Connector are installed. Eg: Protocol://Asterisk_Server_IP:Connector_Port.
- Outbound Context – Enter your context that you Joforce configured in sip.conf. Eg:joforce_outbound
- Outbound Trunk – Enter your Trunk name that you configured in your asterisk sip.conf. Eg:Trunk name
- Joforce Secret Key – Enter your Unique key generated for authentication, that has configured in Joforce Asterisk Connector. Then Click Save.
Softphone #
You can use softphone as an interface to dial or receive your customer calls from mobile and skype. For quick communication you can get a instant call pop-up right inside your CRM.
Softphone Installation Steps
- Download any Softphone.
- Extract your tar file.
- Set your Trunk Name and Password of sip configurations to activate it.
Call Logs
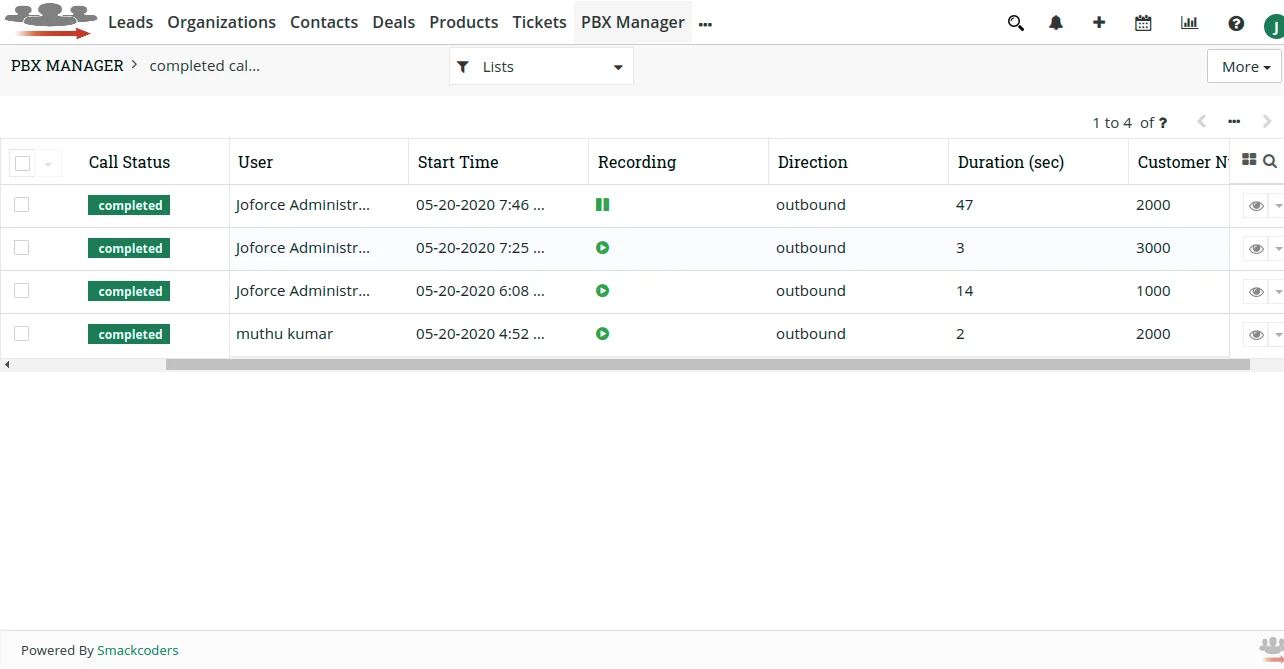
Joforce Asterisk Connector keep track of all your call records in the call logs with the call status like Ringing, Completed, Hangup and much more. You can get the contact details of your customers inside your log. You can record, download or replay your conversations for future analytics. Also visualize the time duration of your customer calls with the exact time. For Call Logs module Click PBXManager.

PBXManager Dashboard
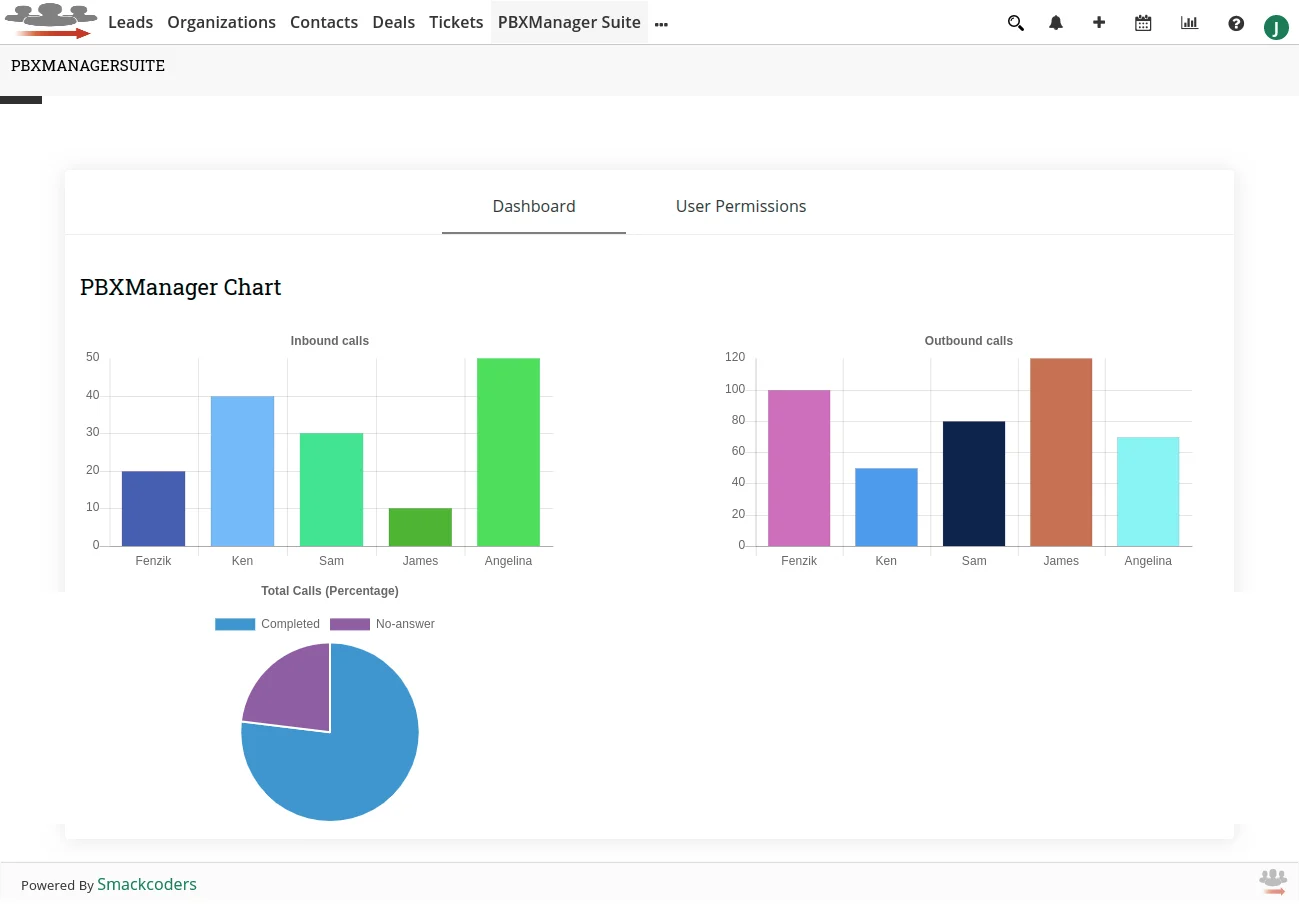
With Joforce Asterisk Integration you can easily monitor and analyze your call records in the single unified window. It shows you the reports of both incoming & outgoing calls and also no answer calls.

