Start your Joforce journey!
- Download the Joforce Package from sourceforge https://sourceforge.net/projects/joforcecrm/
- Unzip the downloaded file in the document root directory.
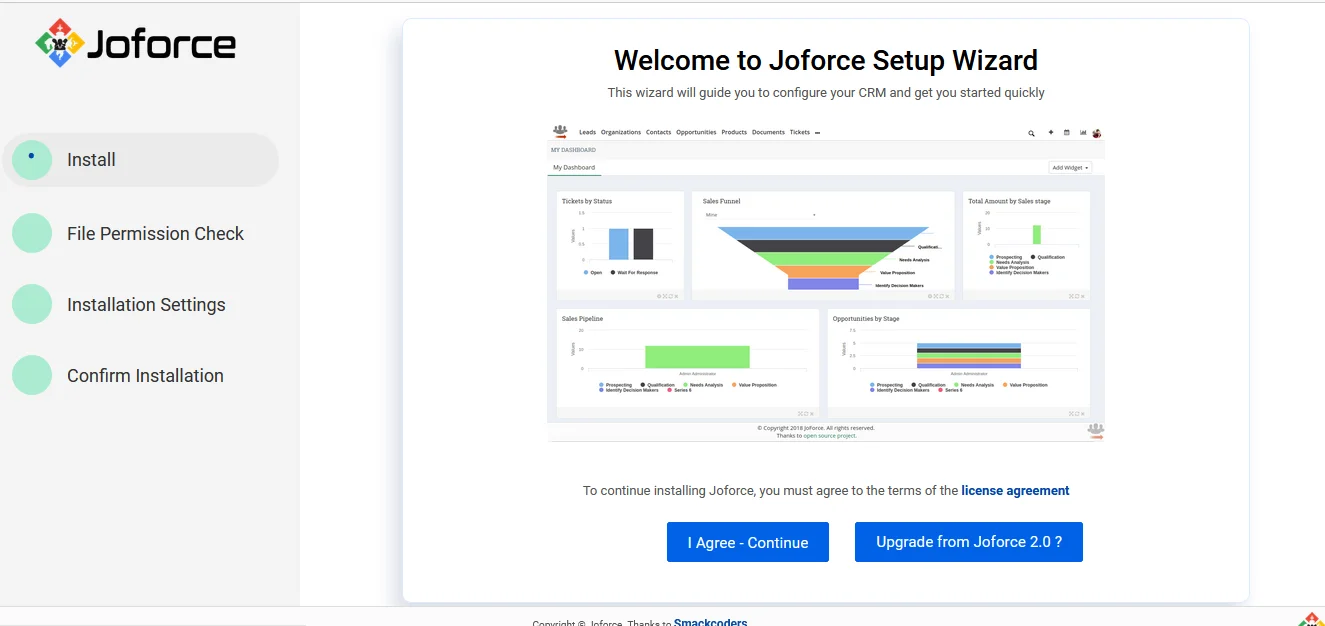
- If you are new to Joforce click on the I agree and continue.
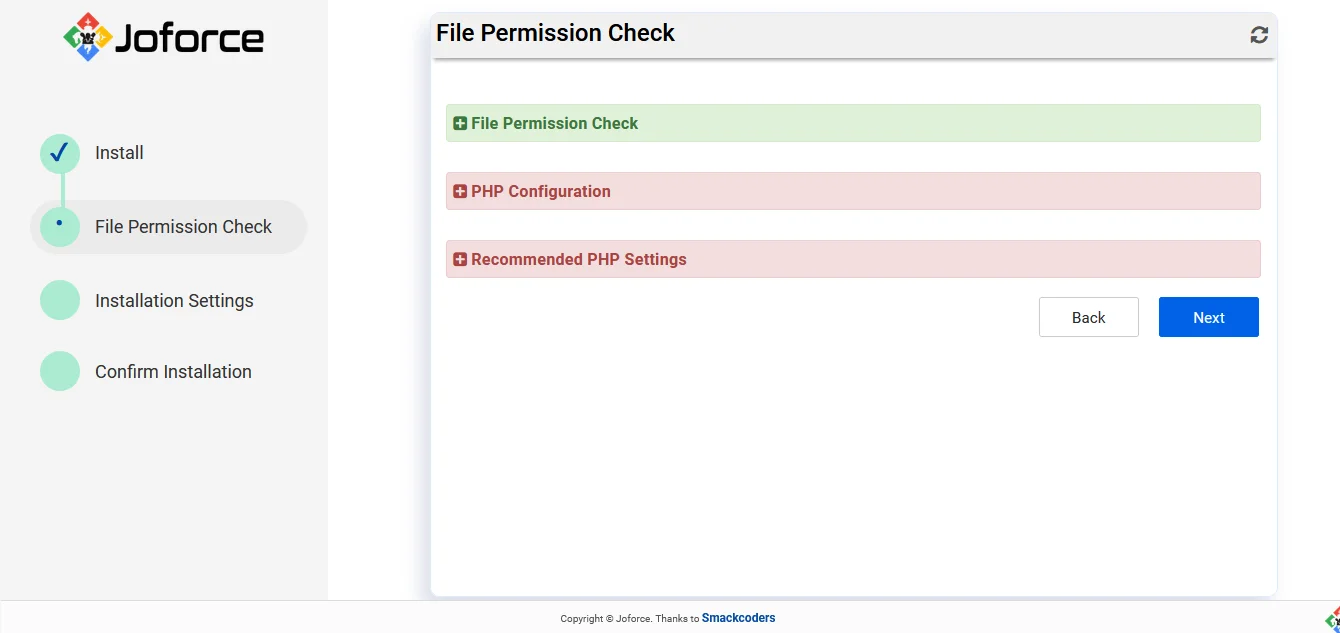
- File Permission Check
It is a mandatory field. Only if you have the file permission, you can access the CRM. Otherwise you need to get the prior file permission to access the CRM.
- PHP configuration
The PHP version should be 7.2.5 <= 7.4. The other fields are optional. That is they can be used only for accessing extensions.
For example If you want to use the Airmail then you need to satisfy the condition of IMAP support.
- Recommended PHP setting
It displays the error log settings and this field is also optional.
Then click on Next.
It will lead to the Installation Settings.
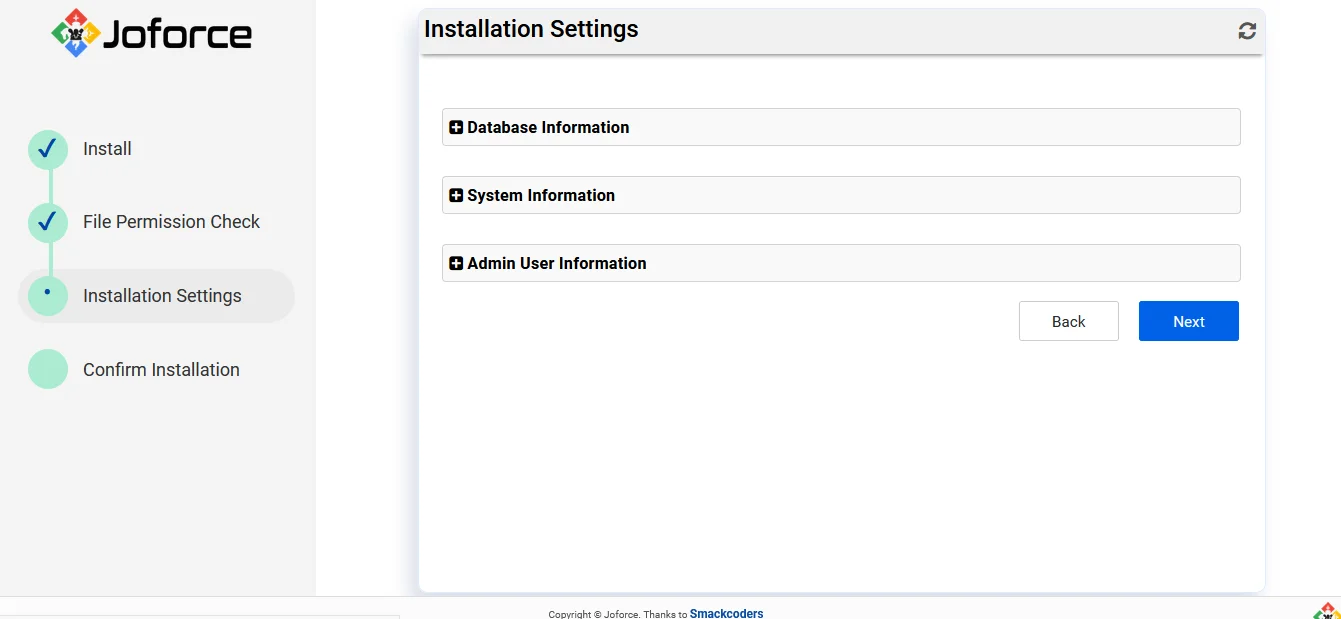
Installation Settings
First Setup your database for Joforce
Database Information
- Enter the Host Name, User Name, Password
- Enter the Database name that you’ve created earlier
System Information
- Choose your preferred Currency from the Currency drop down
Admin User Information
- By default, your Username will be admin
- Now enter Joforce CRM password and Re enter the password for confirmation
- Add the first name and by default the last name will be Administrator and you can also change based on your requirements
- Provide your Email address
- Now choose the date format and time zone
- Finally click on Next.

Now the installation of Joforce CRM will get started.
After a few minutes, you can get your Joforce CRM login page.
Login and start to explore.
Joforce- Set Up #
You need to configure the basic and essential settings that need to be done once you install the Joforce CRM.
The basic settings of Joforce CRM include
- Company Details
- Currency
- My Accounts
- Outgoing Server
- Language
- Calendar Settings


