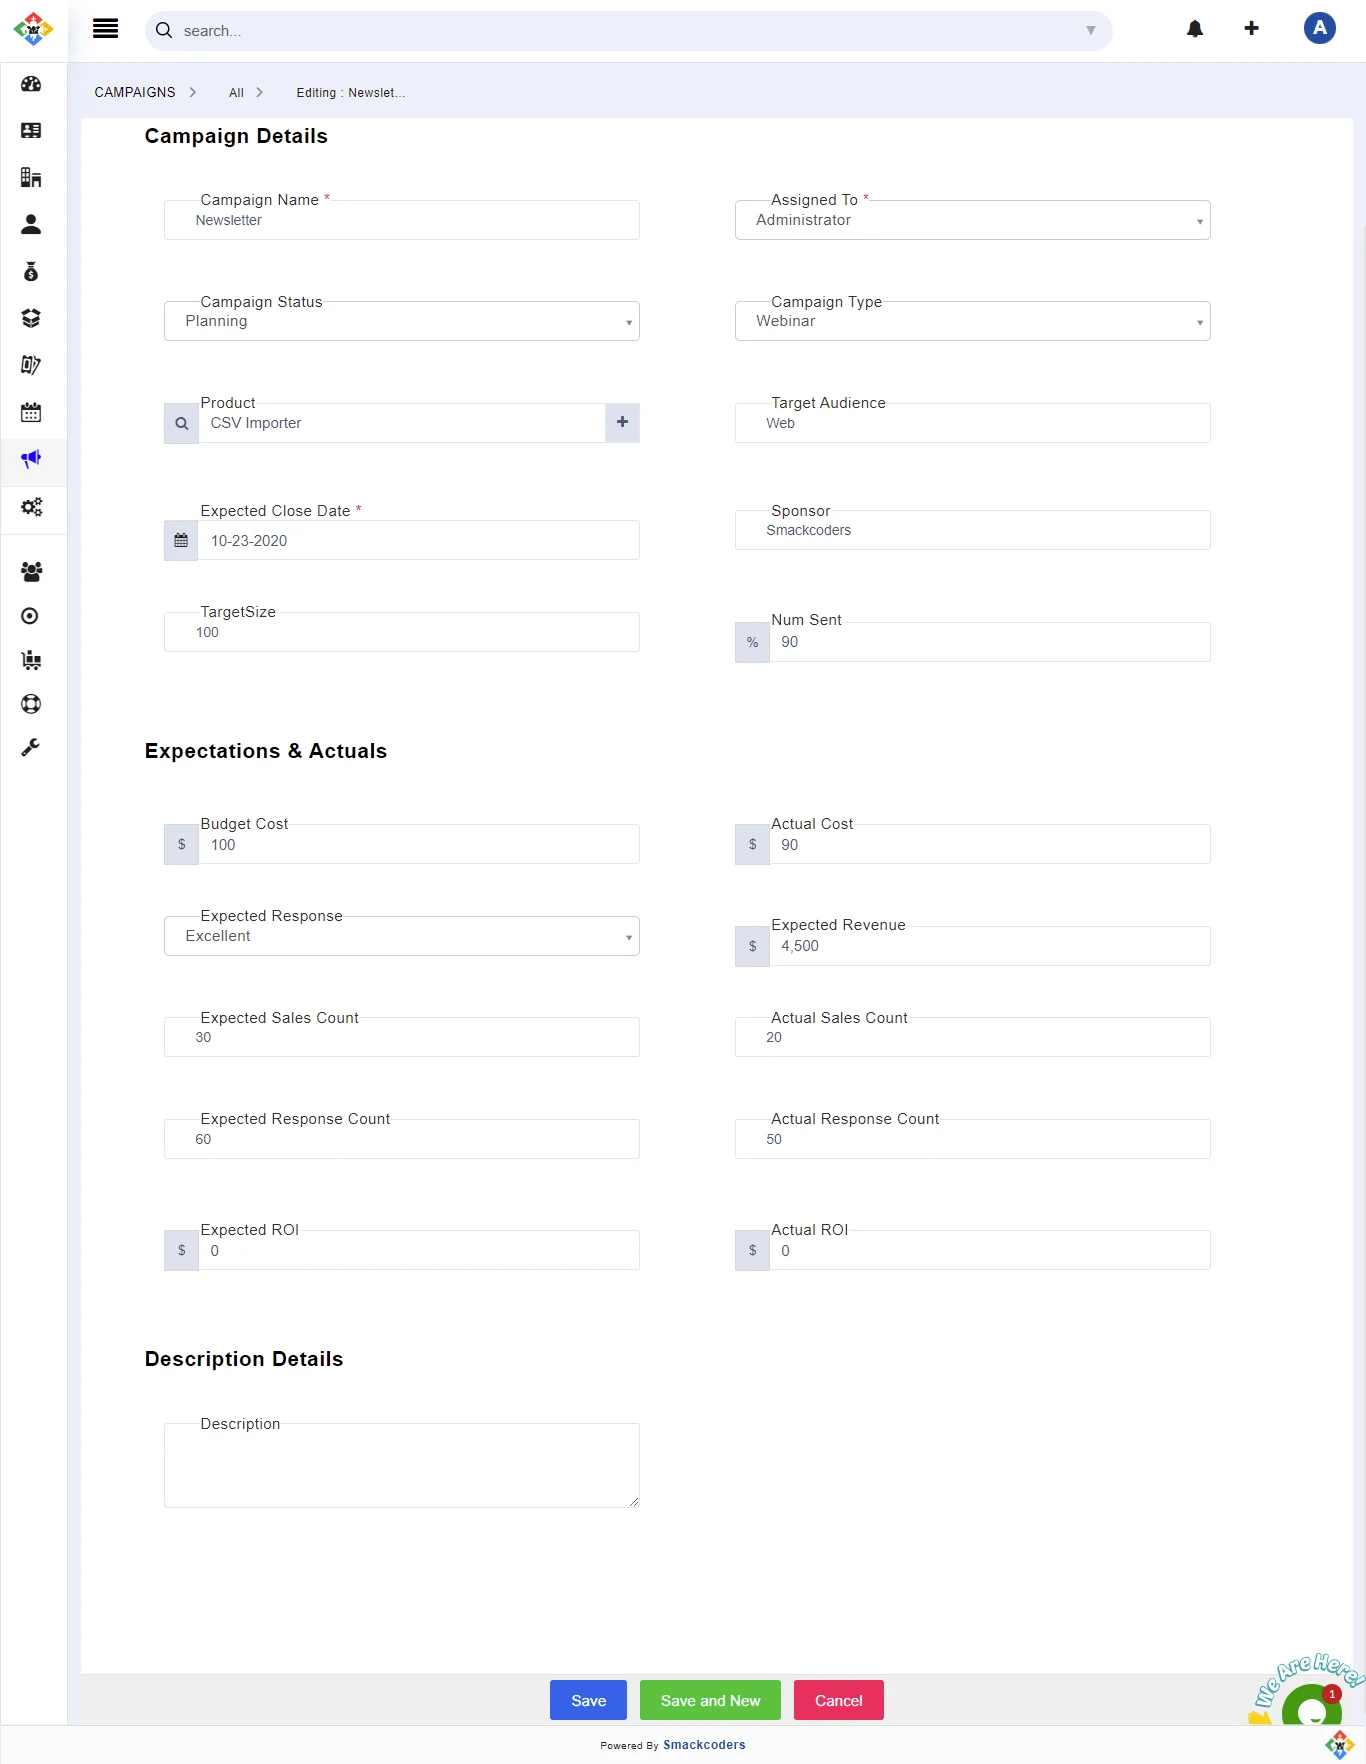
Joforce CRM lets you run the mass email marketing campaign with the selected list of Leads, Contacts, Organizations, and Deals.
Create a new campaign #
You can create a new campaign in 2 different ways,
- Quick Create
- Click on the + Quick Create button in the top Quick Actions Bar, you can access this anywhere in Joforce CRM
- Choose Campaign from the drop-down
- In the Quick Create Campaign popup, add the related information
- Once done, hit Save
- You can also access the complete Campaign Form right from here by clicking on Go to full form.
- Adding Campaign info Manually
- Click on + Add Campaign
- Provide the necessary details
- Click on Save
Default Campaign views #
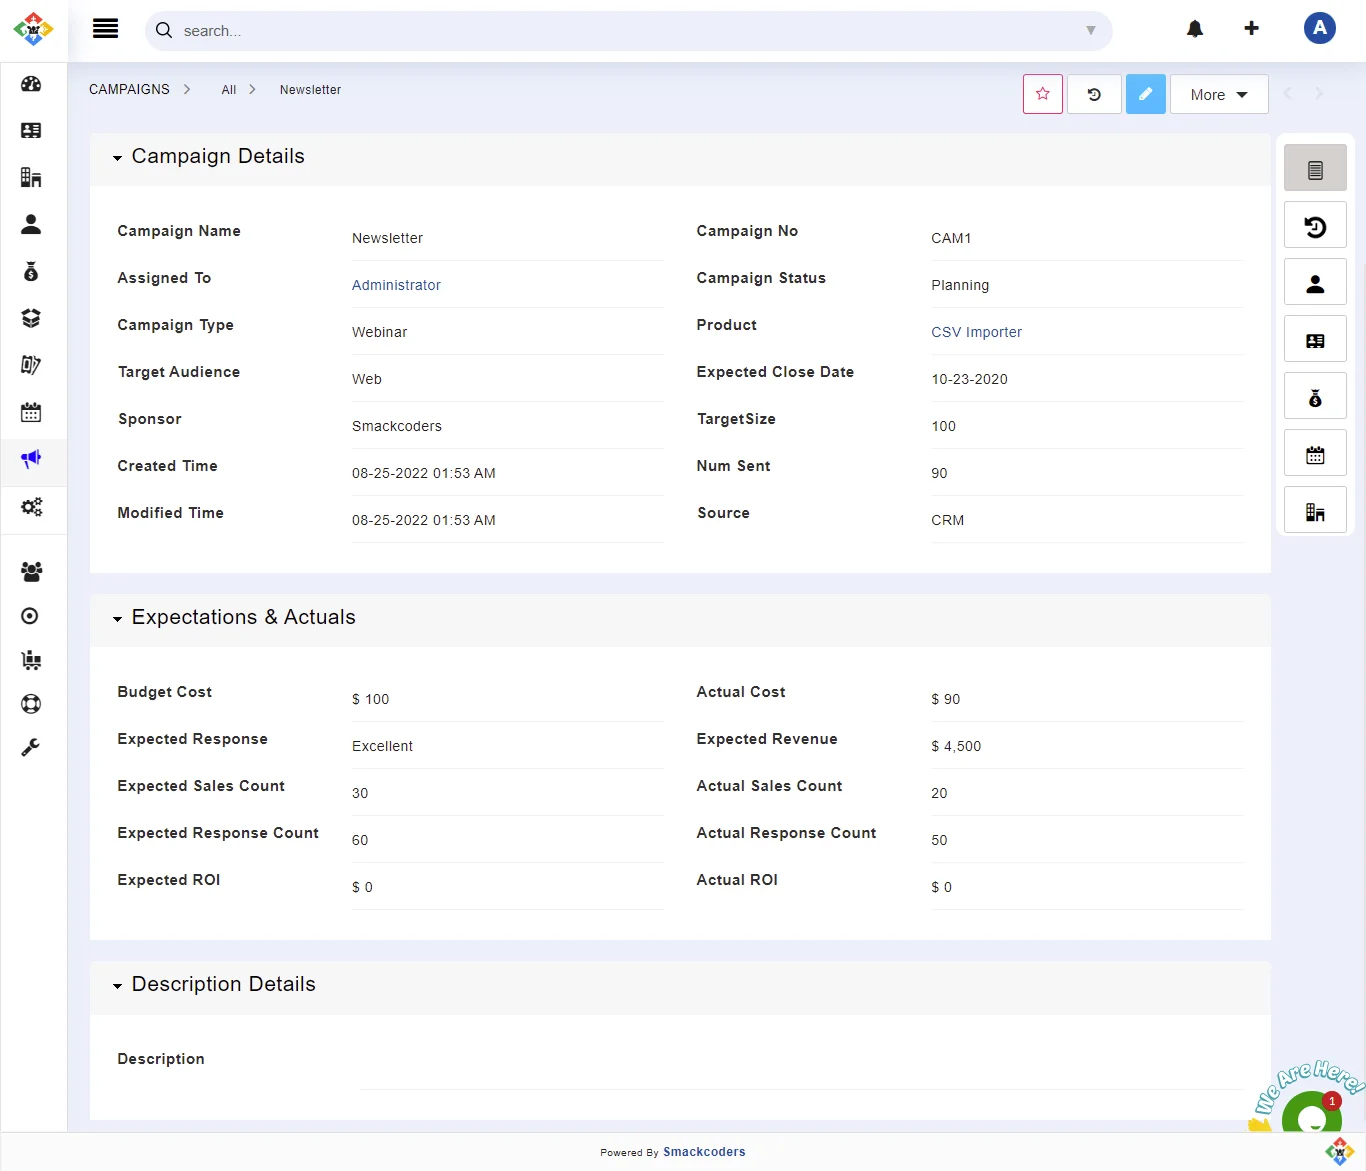
By default, Joforce CRM offers you a list of fields to add information related to your Campaign. The below image gives a list of the default fields in Joforce CRM.
However, you can also add custom fields to know more about your prospects.
Execute the campaign #
You can run the campaign to a selected list of Leads, Contacts, Deals, and Organizations. To do so,
- Navigate to the detailed view of the desired campaign.
- Click on the desired icon to add the related Contacts or Leads or organizations or Deals.
- Click on the Select option to choose from the existing list else click on the + Add option to add a new one other than the existing
- Once your list gets finalized, click on the Send email option, and in the Compose email overlay, Choose your Campaign Template and then send it to your customers.
- You can also automate the campaign, via Workflow.
Managing Campaign records #
Common actions performed on the module
- Click on a List text box at the top → click on Create New option beside the LISTS to create custom filters.
- Click on Import → To import campaign records into Joforce CRM
- Click on More and choose the necessary action
- Campaigns Fields & Layout → To configure the module fields and customize the field layouts. Module Layouts & Fields
- Campaign Workflows → To add workflows related to your Task and Events.
- Picklists Values → To modify the picklist values
- Campaign Numbering. → To create custom numbering for records
Action performed in the list view
- Click on the Search icon in the right corner → To search for records in that module
- Click on the Box icon in the right corner→ To alter the header menu
- Double click on the table menu → To sort the menu.
- Multiple records – Bulk actions → Select the desired records → click on the drop-down menu
- Delete→ To Delete the selected records(bulk deletion)
- Edit icon → To edit the selected records on the whole (Mass Edit)
- Action taken on a single record → Click on the drop-down menu in the right corner of each record
- Details → Navigate to the detailed view of the record
- Edit → To edit the record
- Delete → To delete the selected record
Action performed in the detail view
- Click on Add Tag → To add tag
- Click on Follow → To keep track of the record
- Click on Edit → To edit a campaign info
- Click on More
- Delete → To delete the record information
- Duplicate → To replicate the already existing record to create a new one.
View/ addition of other module records related to the particular campaign #
You can easily view/ add the other module records related to a specific campaign.
- Go to the detailed view of the particular record
- Click on the appropriate module icon. It displays all the related records.
- You can also relate a new record either
- By selecting from the already existing records
- By adding a new record to that module
The list of modules included are
- Contacts, Organisation, Deals, Leads, and Activities.


