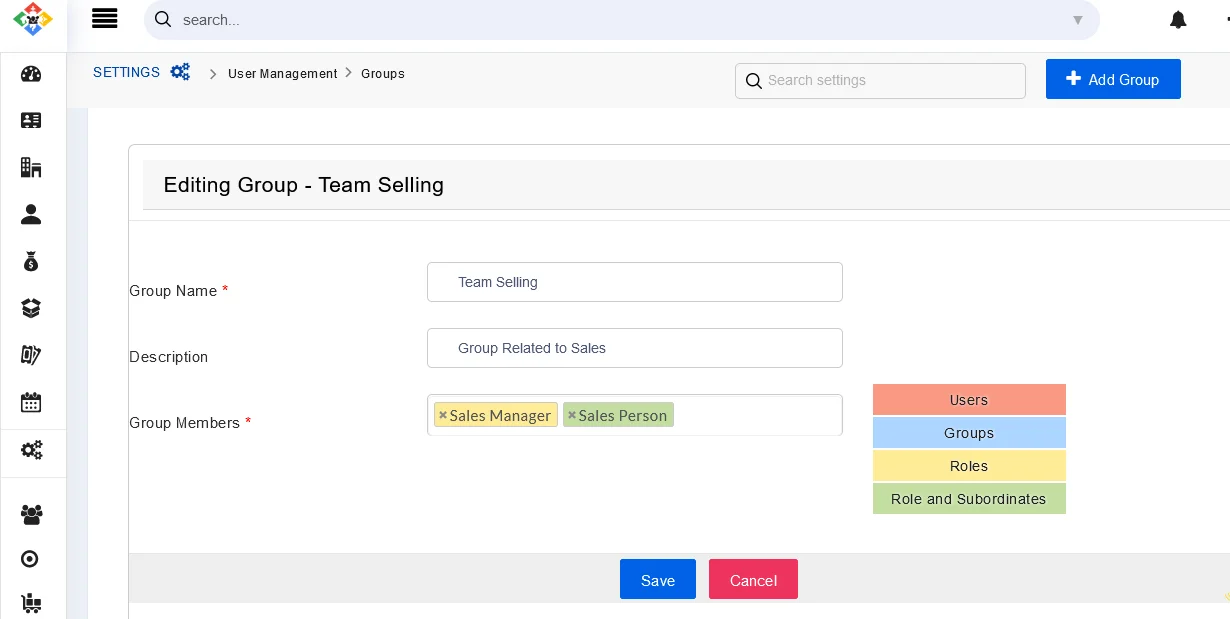
Joforce lets you group different users, roles, roles, and subordinates within your organization. You can also group multiple groups into a single one. This can be helpful in sharing the common set of records with all your members.
- Users – Select users to be included in the group
- Roles – Include all the users associated with the Role
- Roles and Subordinates – Include all the users associated with the role and its subordinate role
- Group – Includes all the users associated with a group
Creating a new group #
With Joforce, you can create new groups and edit any group based on your needs. To create a new group,
- Click on the Left SideBar → Settings → Navigate to the User Management section → Groups → Add Group
- Add the following values,
- Group Name – Provide the group name
- Description – Add a description of your Group
- Group Members – Choose the members (Users, Roles, Roles and Subordinates, Group) to be included in the group
- Finally, click on Save.
To edit the existing group,
- In the group list view, click on the edit icon of the desired group.
- Make the necessary changes and then click Save.
Deleting a group in Joforce #
If you no longer need any of the existing groups you can easily delete any group
- In the group list view, click on the Trash icon of the desired group.
- In the Delete group overlay, you can transfer the responsibilities to another existing group.
- Choose the option from the drop-down of the Transfer ownership and click Save.
- Once you hit Save the information is transferred to another group and the group will be deleted.

