Webhooks is a web-call back method for an app that will provide the real-time information for another application. And this will be more helpful for developers other than the users.
- Click on the Left Sidebar→ Navigate to the Settings section and click on Automation → Webhooks
- You can add a Webhook by clicking on Add Webhooks at the top right Corner.
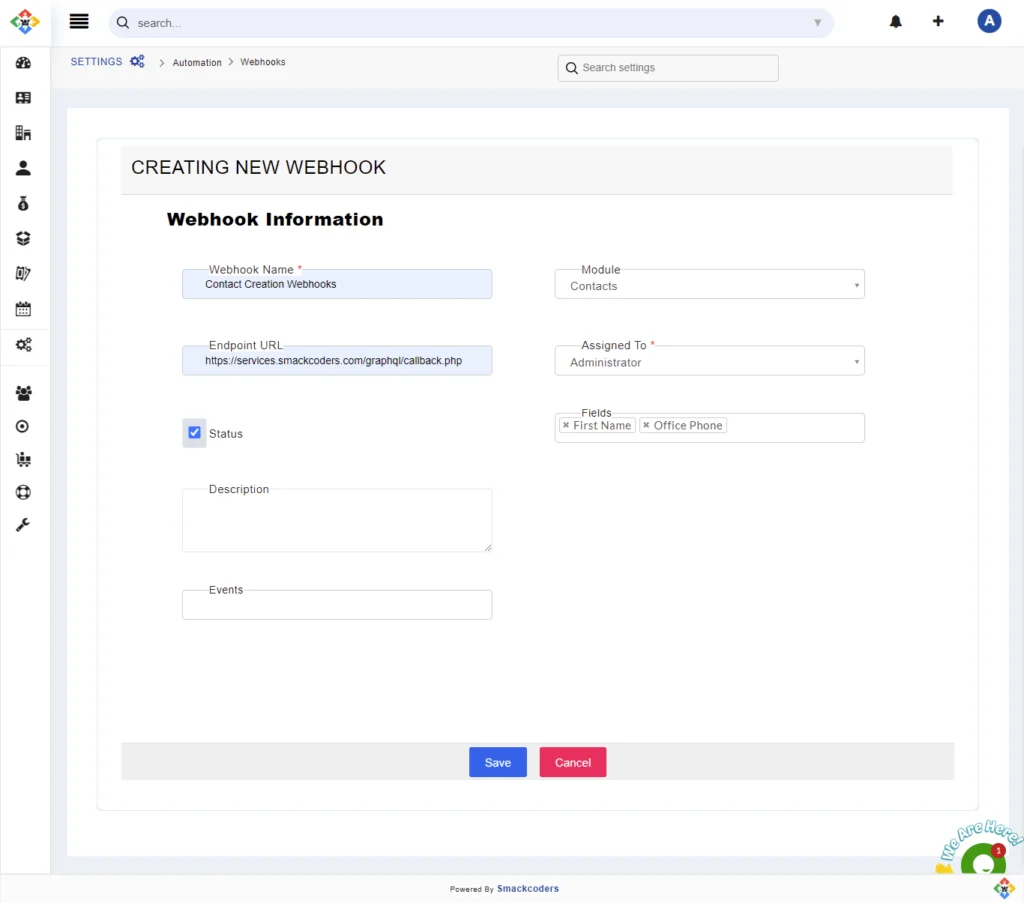
- Webhook Name – Provide the appropriate Name related to your Webhook.
- Endpoint URL – It is the Callback URL where the webhooks actions are triggered to.
- Modules – Select the modules from the drop-down. If you select a contact module then the changes made in that module will be triggered automatically to the callback URL. You can easily view the changes made in your CRM from anywhere using the Callback URL.
- Assigned To – Select a user or group to whom you want to assign the records.
- Fields- Select the appropriate fields from the drop-down. The field also acts as an input parameter to trigger the action in the callback URL.
- Status – Enable the checkbox to activate the webhooks trigger action.
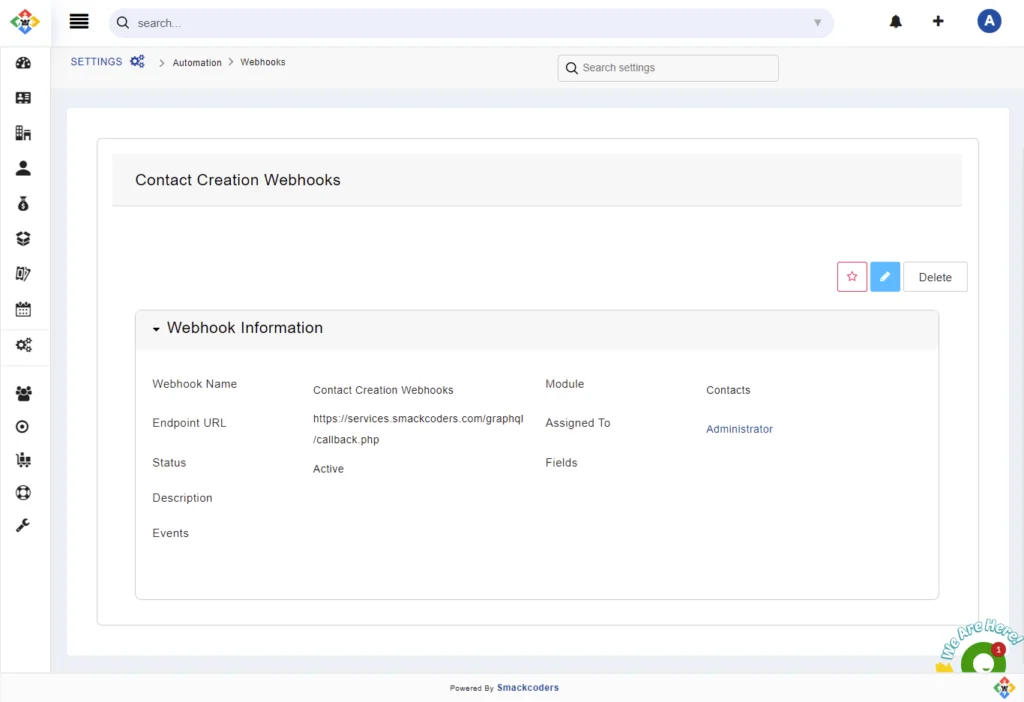
- Click on Save. Now the webhook is created.


