Module Configuration #
Once you install the module, you need to configure it to make it active. To configure JoforceConditionalLayout,
- Go to User Profile icon → Settings → JoforceConditionalLayout.
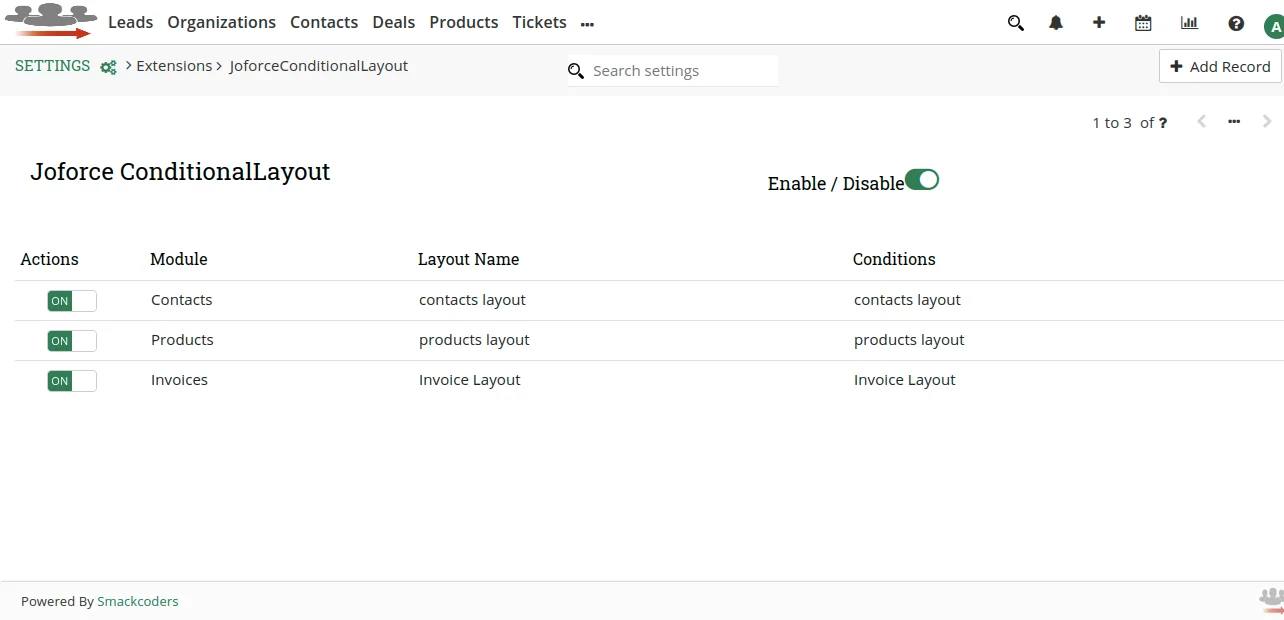
- Click on the module.
- Make it as Enable to keep the module active in JoforceCRM.
- Conditional Layout List: displays all previously created Conditional Layouts. You can either edit or delete the layouts from list view.

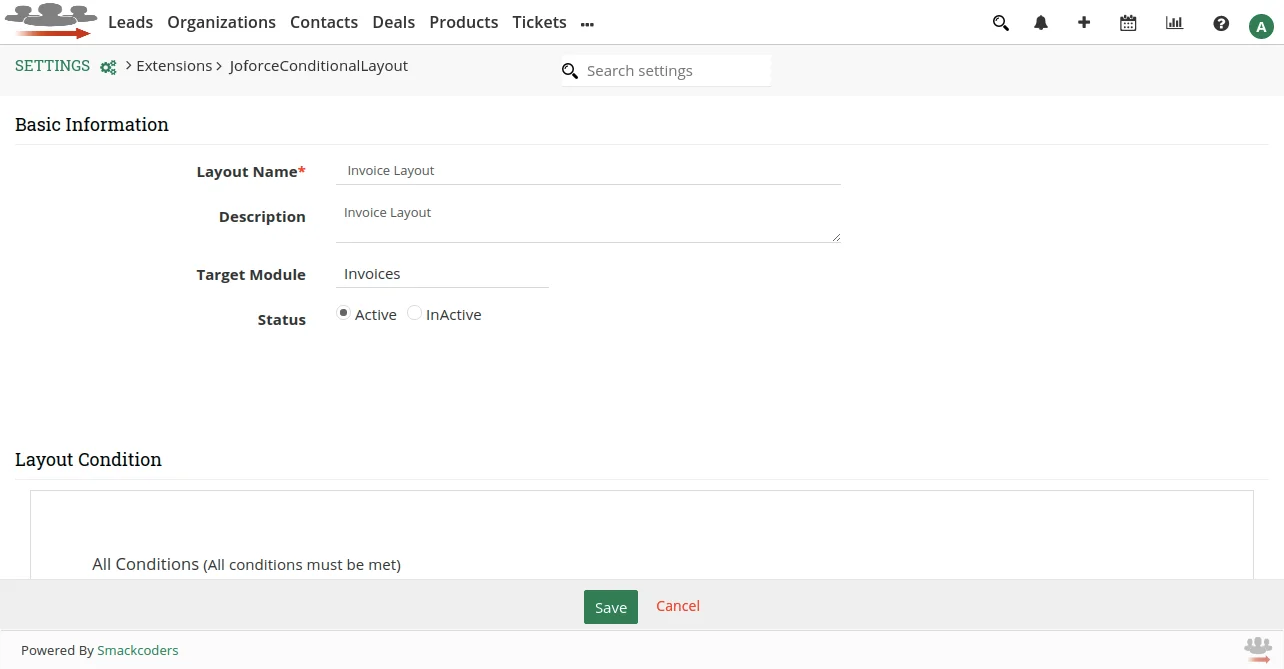
- Select ‘Add Record’ at the top right corner to create new layout rules.
- Provide a name for the layout, description and select the target module for which you want to create the rules.
- Set the status as ‘Active’. If you set the status as ‘InActive’ then the layout doesn’t work when a certain condition is met.

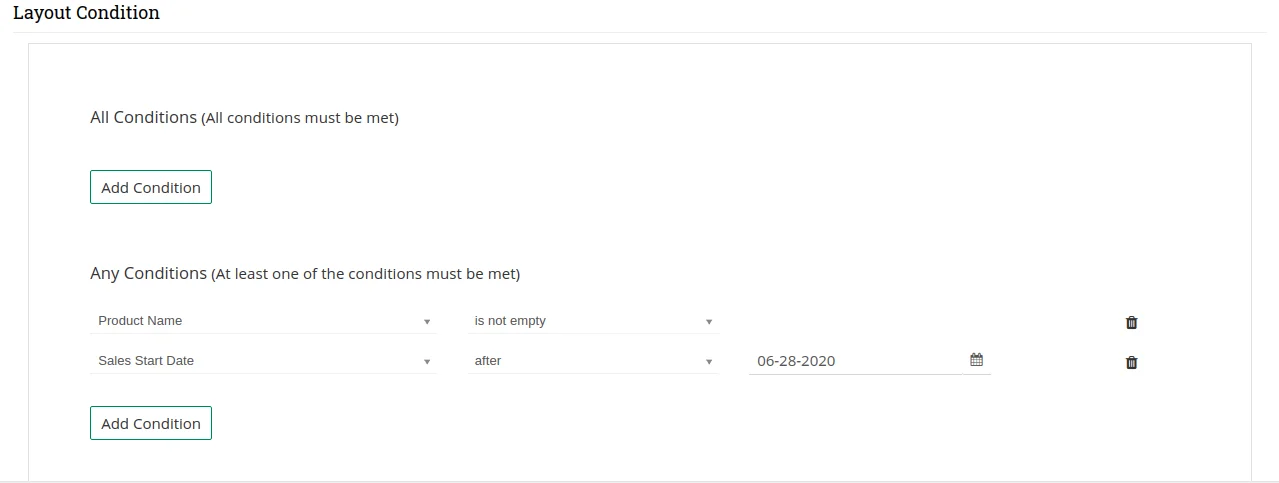
- In the ‘Layout Condition’, select ‘Add Condition’ and enter a condition for when the fields to be shown, hide or made mandatory.
- The conditions can be set based on the AND, OR rules.

- Layout Action – Select ‘Add Task’ to execute certain actions when conditions are met.

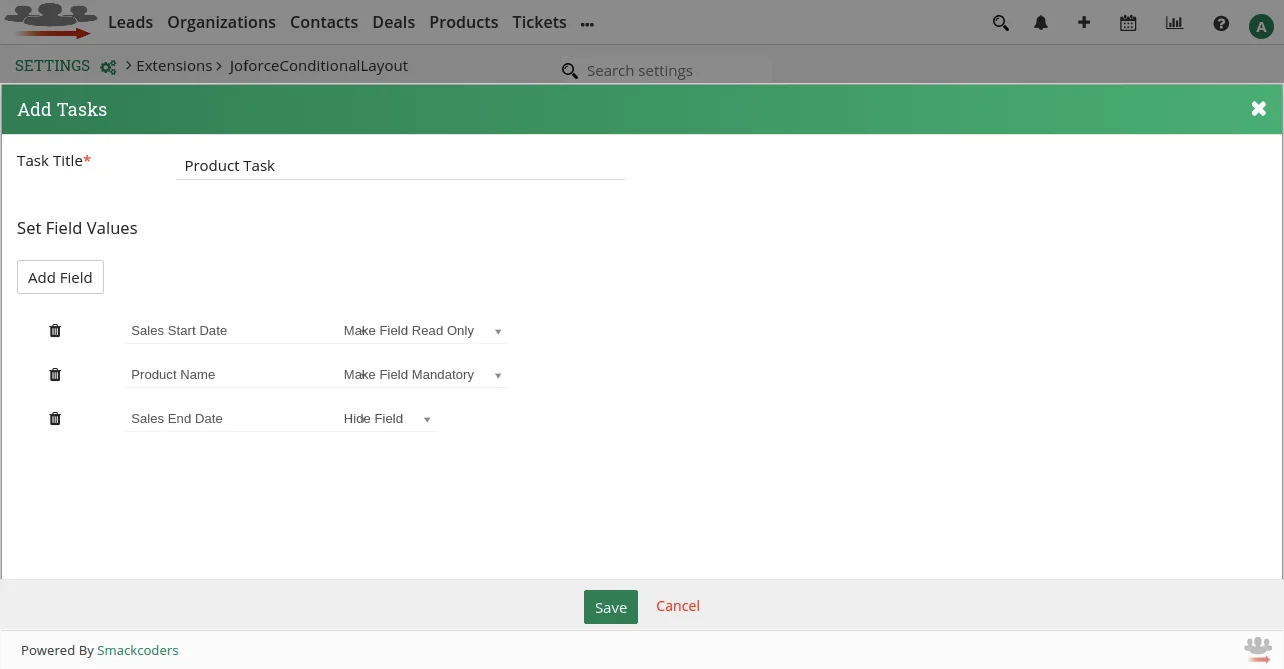
It opens the ‘Add Tasks’ window. Here add the following,
- Give a title for tasks.
- Click ‘Add Field’ in Set Field Values.
- Select the fields, and choose the field availability in the module. You can select ‘Make Field Mandatory’, or ‘Make Field Read Only’, ‘Hide Field’ or ‘SUM’.
- You can add as many fields by using the ‘Add Field’ button.
- To delete one field, simply tap the delete icon of the appropriate field.
- Finally click Save.

