Masquerade Users are a great way to give your customers the ability to interact with your business. Your customers can log into your Joforce CRM, view and perform actions on the data that are shared with them.
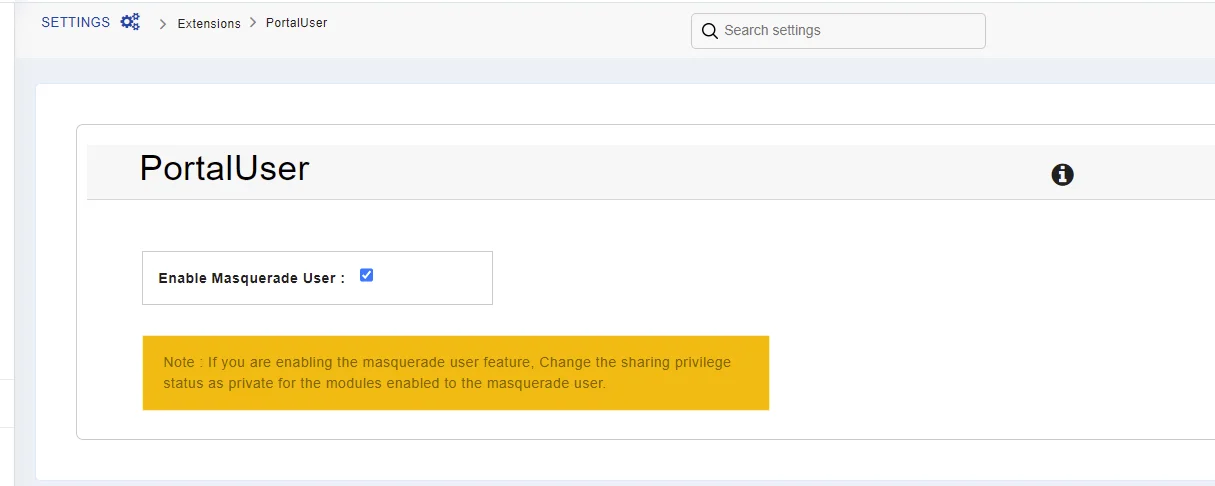
- Click on the Left Sidebar→ Navigate to the Settings section and click on Extensions → Masquerade Users
- Now just enable the checkbox – Enable Masquerade User
You can also create multiple new access privileges for your Masquerade Users. This may come in handy when you offer CRM access to different customers or users. For example, Resellers and your customers.
- For resellers, you need to provide privileges to access all your Product and Service related info.
- While for customers, you need to give privileges to submit support tickets and allow them to view the invoice, Quotes, and documents that are related to them.
Define Roles and assign the Privileges #
With Roles, you can easily classify your Masquerade Users(eg: Reseller, customers) and assign the previously created Profiles under the appropriate roles.
Create Masquerade Users #
Once done with your configuration, you can easily create your Masquerade Users in just a single click.
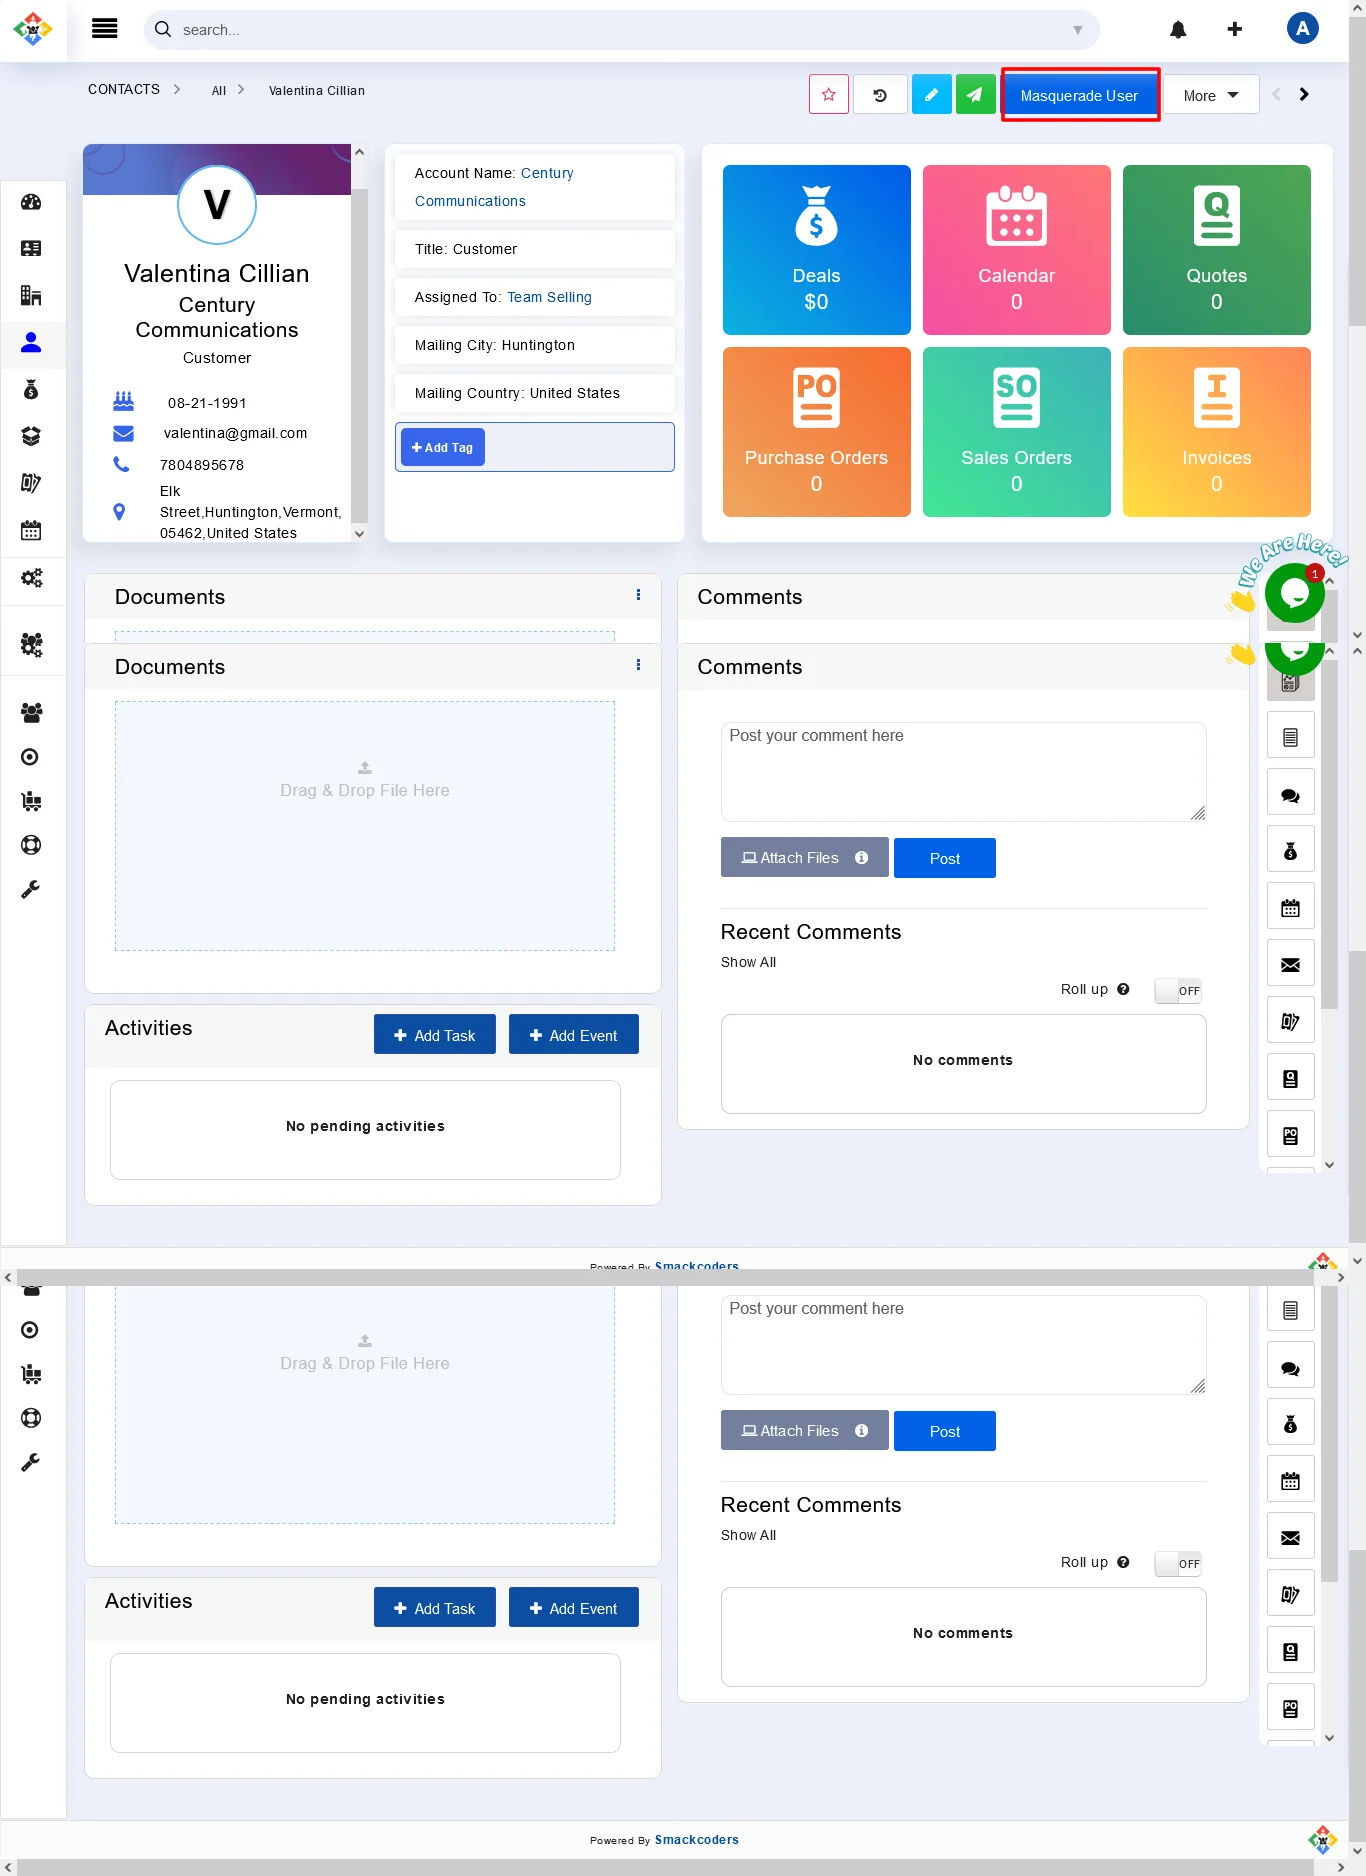
- Navigate to the Contacts module and to the detailed view of the desired contact, for whom you need to give the CRM access.
- Click on the ‘Masquerade User’ button.
- On the Add User overlay, all the necessary information is fetched from the contact and displayed.
- Verify them and add the end date for the Masquerade user in the “Masquerade User end date” field to terminate the access of masquerade users to your CRM at the specified date.
- Once done, click Save.
- Instantly, the appropriate customer will receive an email with the login details automatically.
- Now your customers can easily access the CRM information and the user is assigned the default Masquerade User role. But, you can change this from the User Profile.
- Click on the Settings → In the User Management Section click on Users and change the desired roles.


