It lets you create and use custom modules for Joforce CRM. You can add modules based on your requirements.
Adding new modules #
To add new modules other than the default Joforce CRM modules,
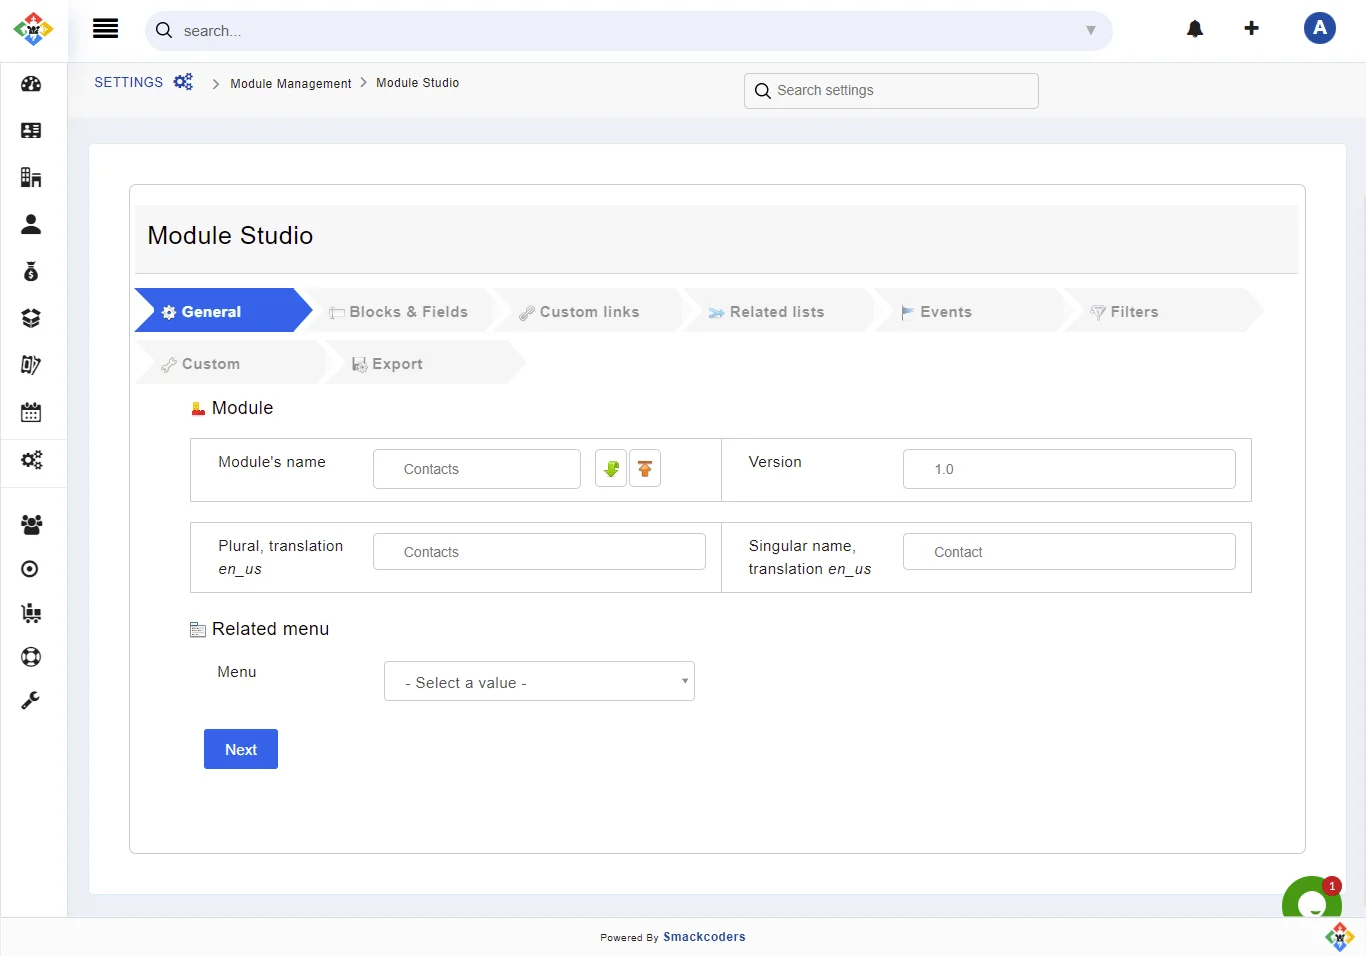
- Click on the Left SideBar → Settings → Navigate to the Module Management section → Module Studio
- Add the necessary information as given below
- General Information
- Add a name to your module in the Module’s name section
- The version of your module
- Add the singular and plural forms of your module
- Choose the Menu, under which your new module should be categorized
Once you fill up all the general information, you can click “Next”
This will lead to the next section “Blocks and Fields”
Blocks & Fields – Lets you to add the fields in the module
- To add a new block – Click on Add block in the top
- To add input fields – Drag & Drop the appropriate field from the UI Type section in the left
- Once you drag and drop a field, a pop up arise to define the database related values
- Initially, add the field name, now the label and column name is autofilled based on your field name
- The table name and column type is auto filled, however you can also change it
- Add the Label translation for en_us language
- If you’ve any default value for the field then add in the Default value in the section.
- Add tips related to your input field in the Tip Label
- Choose where to show this field
- Detail View and Edit View
- Detail View
- Neither one nor other
-
- You can also define the field properties. Enable the checkbox to activate a particular property
- Mandatory field – To make it mandatory
- Identifier
- List View – To add this field in the list view of the module
- Pop up – To add it in the pop-up menu
- Related List – Is this contains the values related to other Joforce CRM modules
- Quick Create – To add this field in the quick create section
- Mass Editable – To add it in the mass editing section
- Read only – To make this field only to all your Joforce CRM users
- Once done, click on save
- You can also define the field properties. Enable the checkbox to activate a particular property
-
- To reorder the blocks – Drag and drop the block section using the toggle bar in the top right corner of each section.
- To delete a block – Drag the block section using the toggle bar, instantly Trash icon appears, and drop it inside to delete it.
- Detail View and Edit View
- Custom links – You can add custom links in different sections are Header Script, Header Css, Header Link, List View, List View Basic, Detail View, Detail View Basic, Detail View Widget, SideBar Link, and SideBar Widget.
- Drag and drop the appropriate section from top left to right
- In the pop-up, add the necessary details
- Label name, Language translation label, URL, Icon, File’s path, Class Name, and Handler.
- Finally click on Save.
- Drag and drop the appropriate section from top left to right
Related Lists – lets you add the related list of other default Joforce CRM modules.
- Drag and drop the desired module and add the necessary info in the popup
- Add the label name, Language translation label
- Choose the method
- To make this related list active, enable the checkbox
- Finally click on Save.
- You can also add filters, and events and add custom code based on your requirements
- Once done with all the works, the final step is Export
- Make and download the module’s zip package – To make the module and download it as a zip package
- Make and install the module – To make and install it in Joforce CRM

