Pick out the specific record information from the whole stack of CRM information with filters.
Creating custom filters or view #
- Navigate to the desired module for which you need to create filters.
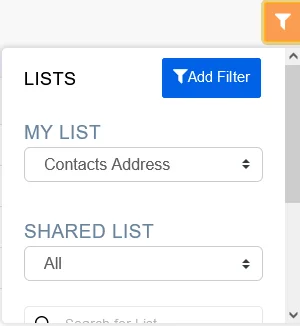
- Click on the filter text box at the top << Add Filter
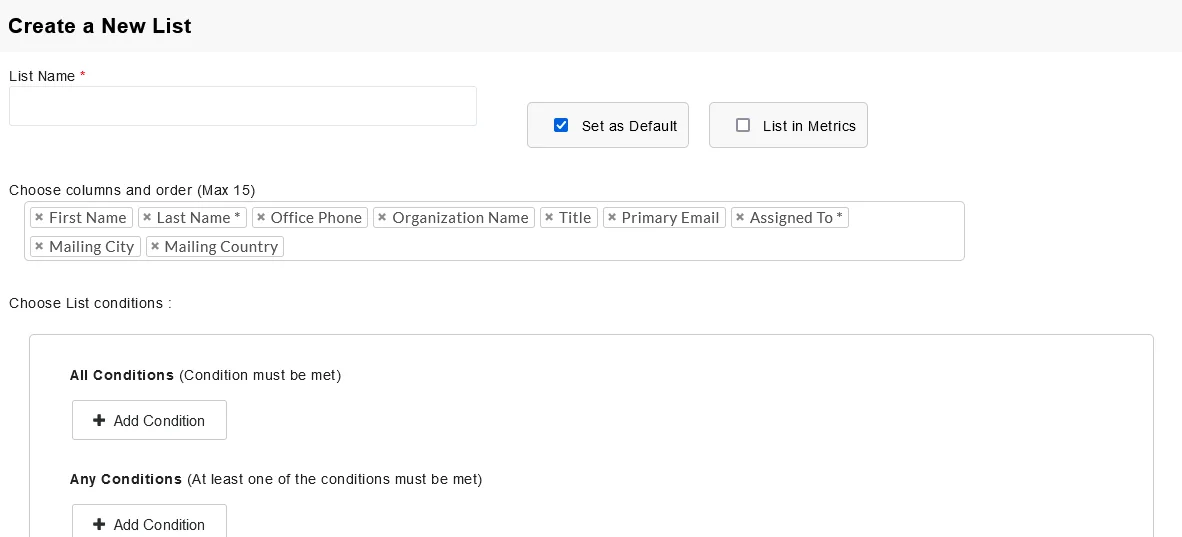
In Create a New List overlay, add the filter name in the List Name
- Add permission to your filters
- Set default – Enable the checkbox, to set this filter as the default filter for you and all your Users
- List in Metrics – Enable the checkbox, to view this filter in the home page Key Metrics widget.
- Select the columns and order
- Choose the column information to be displayed, when the filter is applied.
- You can also reorder the column by simply dragging and dropping it.
- Add the necessary filters or conditions – You can define any no. of conditions
- All Conditions (AND) – Displays record which satisfies all the defined conditions
- Any condition is met (OR) – Displays record which satisfies at least any one of the conditions defined.
- Share this List – Enable the check box to share this filter only to specific users or roles. Choose the appropriate Role or User from the drop-down.
- Once you hit Save, you can view your new filter in the MY LIST
Setting custom filter as your default filter #
Joforce CRM lets you set the newly created filter as a default filter. To set it as default,
In the Create or Edit view – Enable the checkbox Set as Default


